Install a GFCI Outlet
beginner
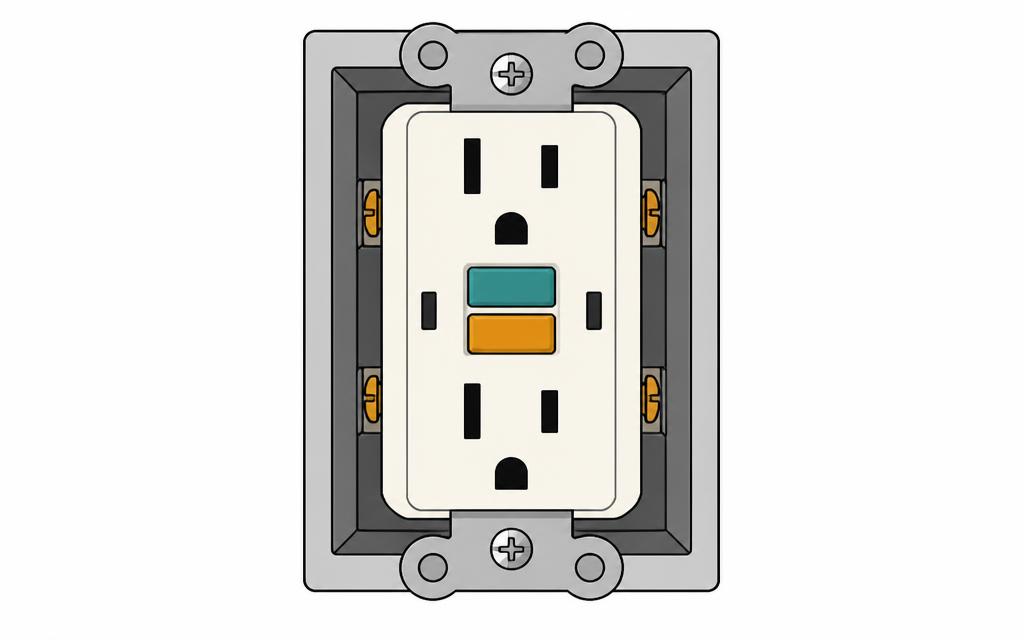
Safety first
Turn off the breaker and verify power is off before working. If you are not comfortable, hire a licensed electrician.
How to verify a dead circuitStep-by-step
1
Turn off the breaker and confirm power is off.
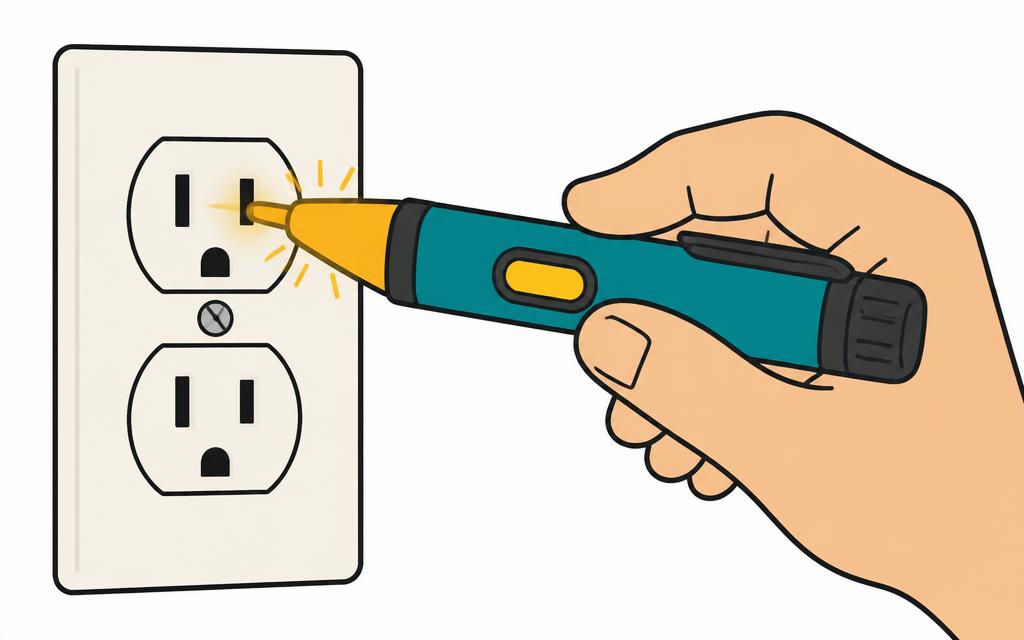
2
Identify the LINE (feed) wires and LOAD (downstream) wires if protecting additional outlets.
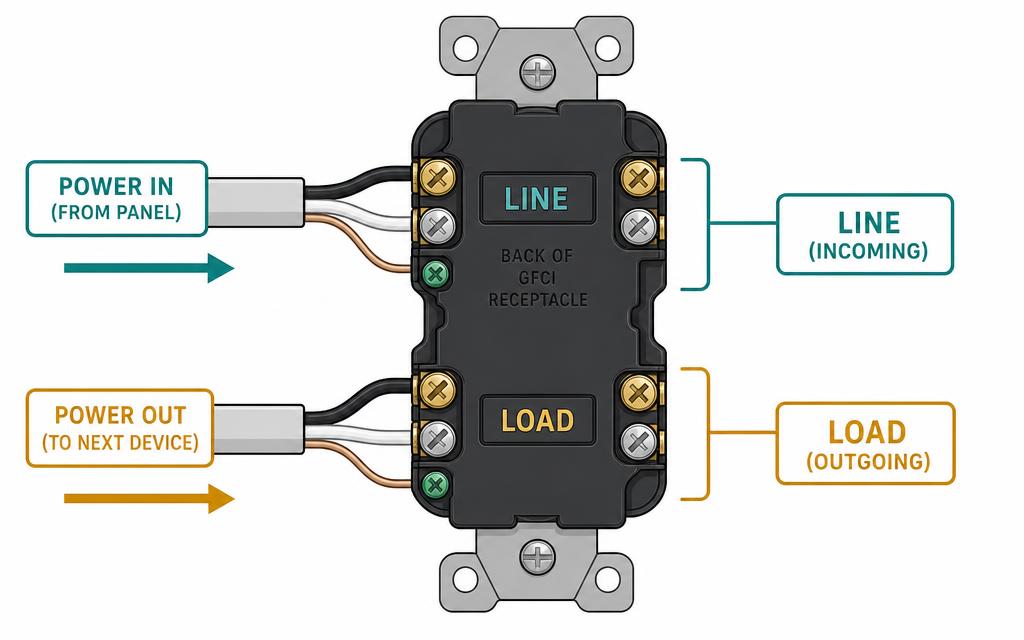
3
Connect LINE black to the brass LINE terminal and LINE white to the silver LINE terminal.
4
If protecting downstream outlets, connect LOAD black and white to the LOAD terminals.
5
Connect the ground wire to the green screw.
6
Secure the GFCI in the box, install the cover, and turn the breaker on.
7
Press the TEST button; the outlet should trip. Press RESET to restore power.
Pro tip for you
The TEST and RESET buttons should be used monthly to make sure the GFCI works.
Tools
- non-contact voltage tester
- screwdriver
- wire stripper
Materials
- GFCI receptacle
- wire nuts