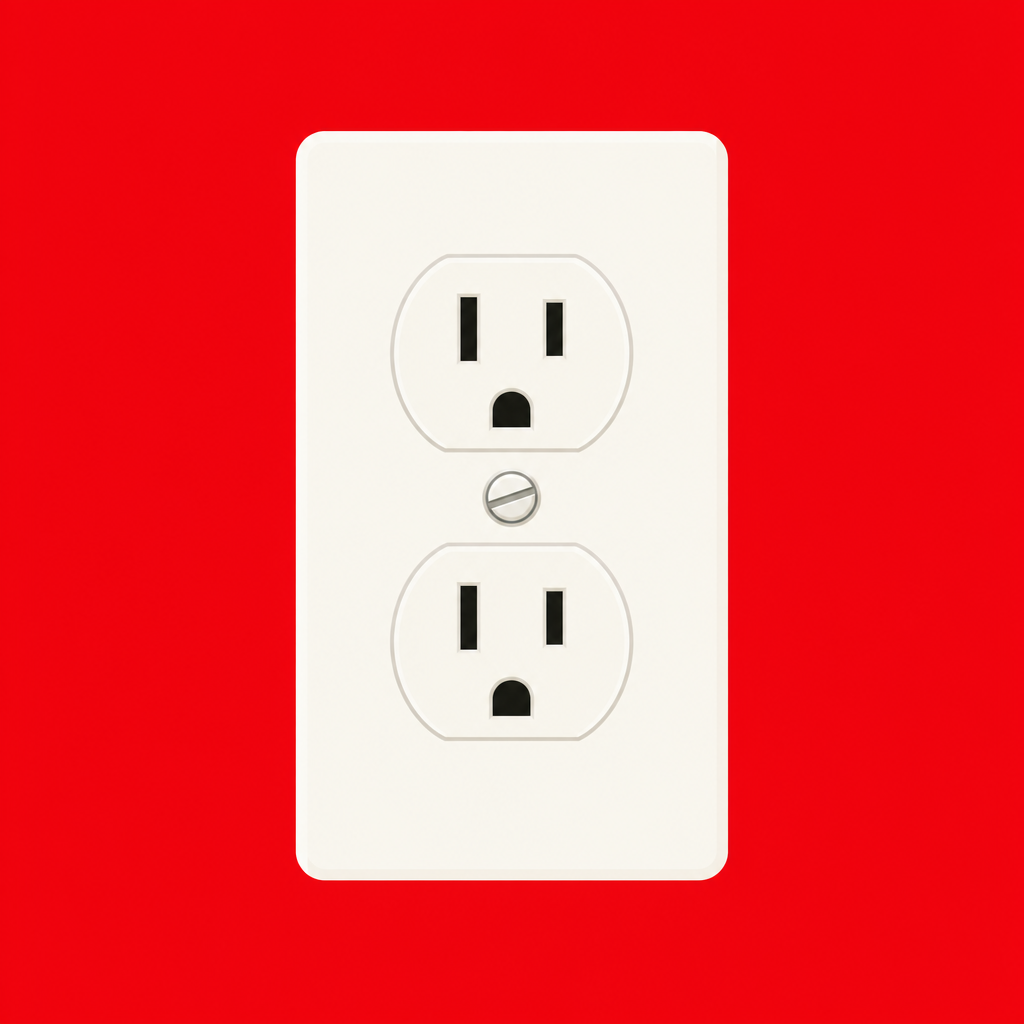
Install or Replace a Light Switch
beginner
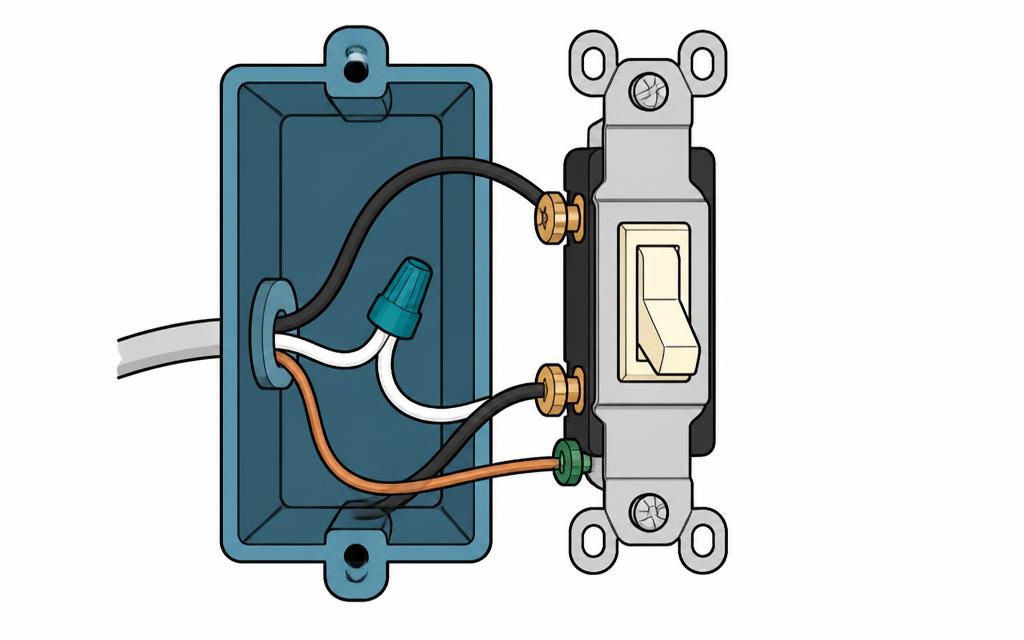
Safety first
Turn off the breaker and verify power is off before working. If you are not comfortable, hire a licensed electrician.
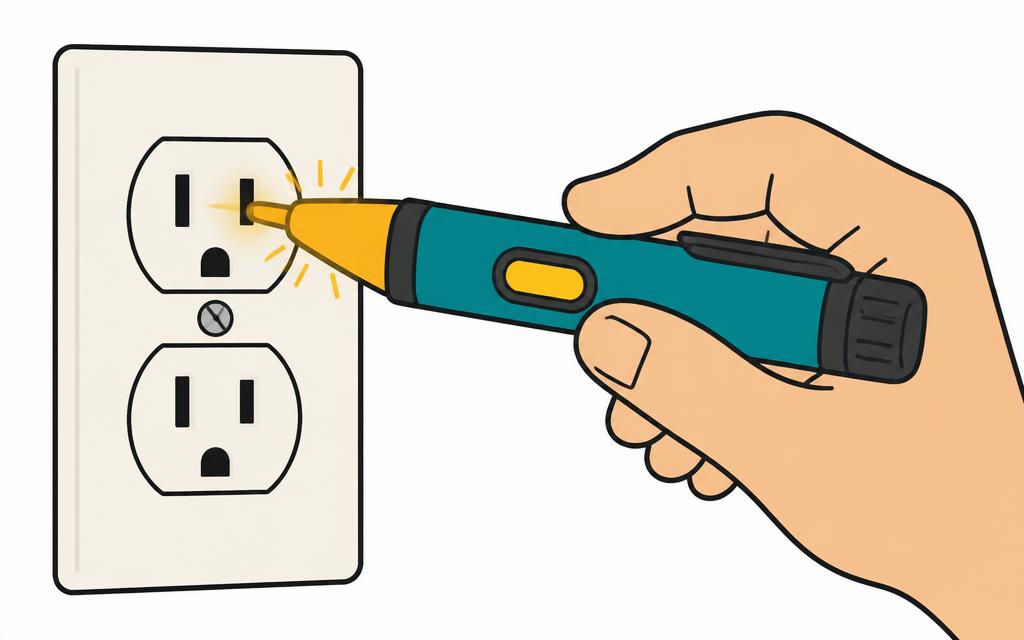
How to verify a dead circuitStep-by-step
1
Turn off the breaker and test the wires.
2
Remove the old switch and note which wires are connected to each terminal.
3
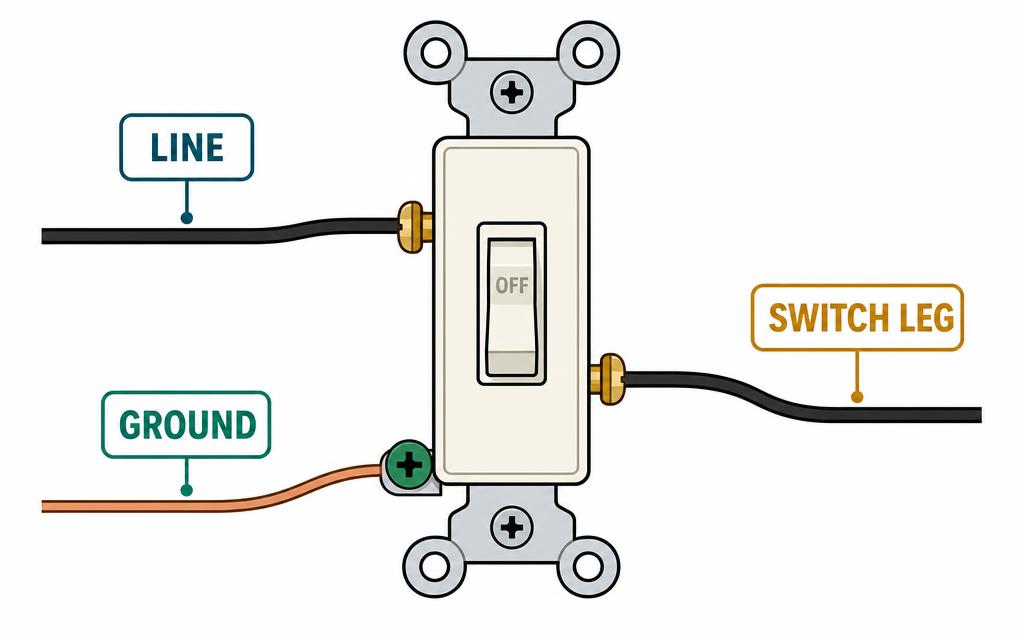
For a standard single-pole switch: connect one hot wire to each brass terminal.
4
If a ground is present, connect it to the green screw.
5
Fold wires into the box, secure the switch, and install the cover.
6
Turn the breaker on and test the switch.
Pro tip for you
If you see a white wire connected to the old switch, it is likely a switched-hot (not a neutral).
Tools
- non-contact voltage tester
- screwdriver
- wire stripper
Materials
- single-pole switch (15A or 20A)